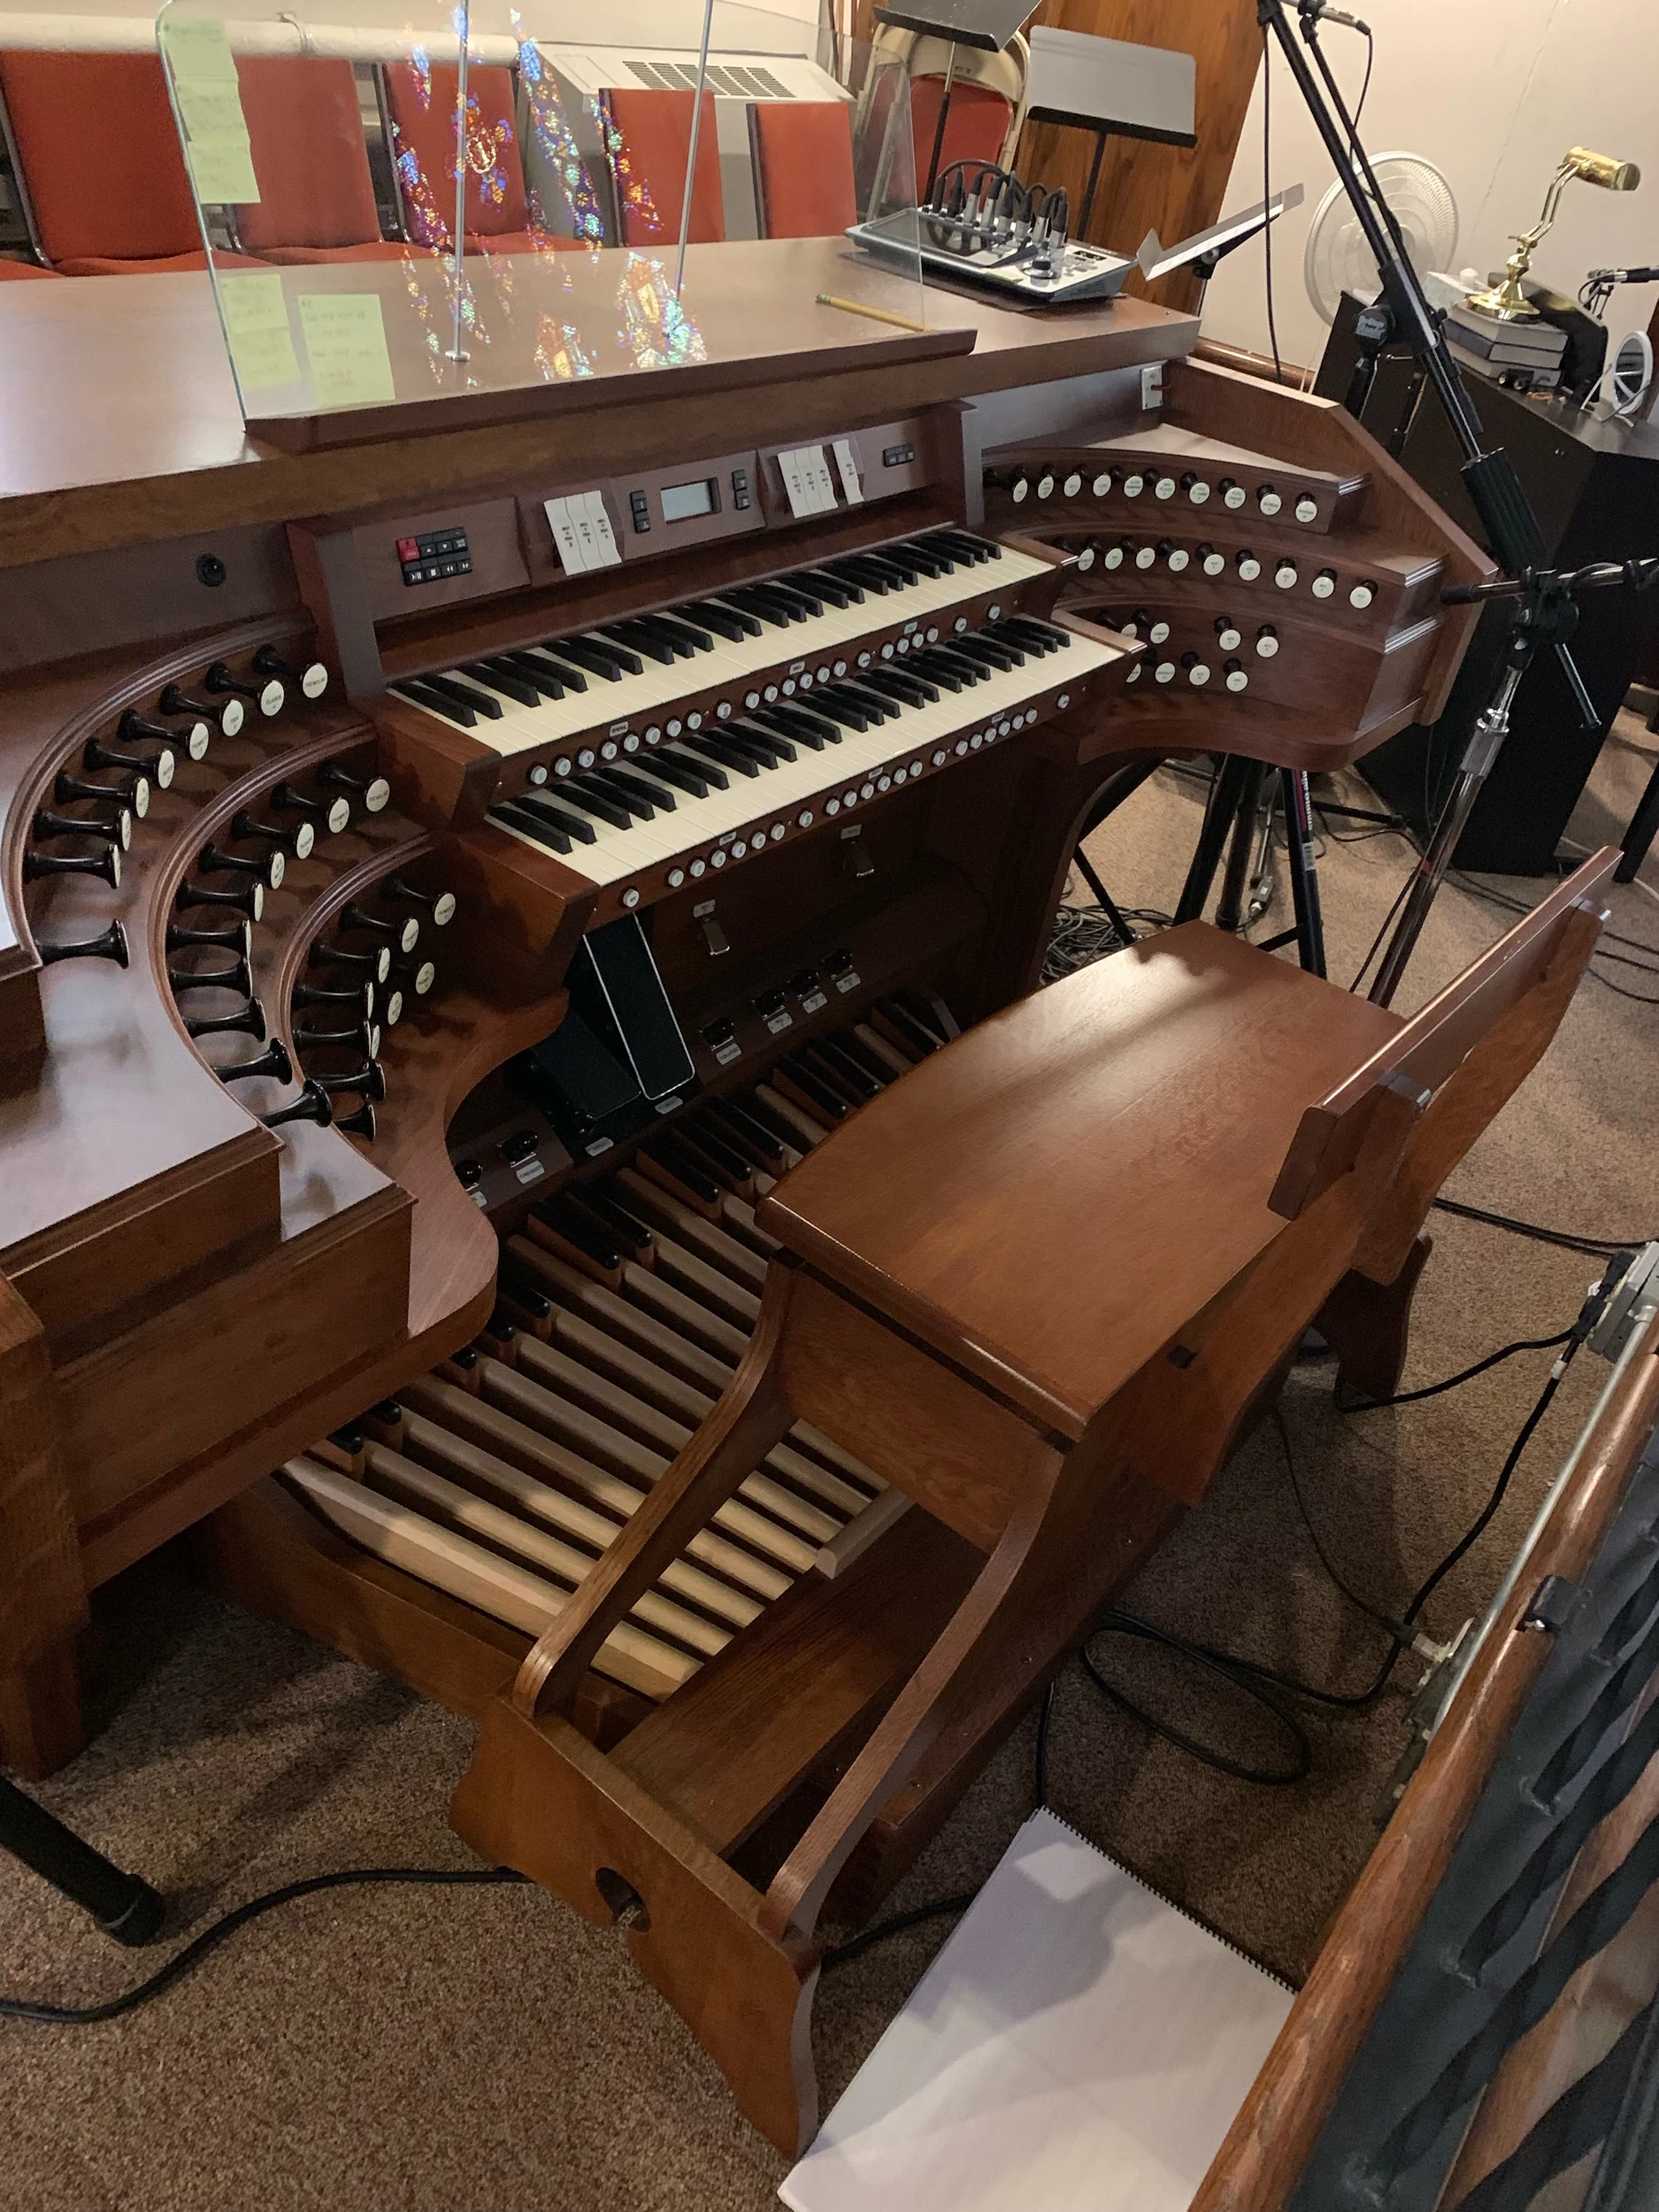
Construction Photos
Scary view down from top of ladder in swell chamber, not a place for the faint of heart. This space will be full of pipes and mechanicals in a few months.
Donald Nordlie and Joe Brown with background showing pedal chamber and scaffolding.
Joe Brown (right) and Greg Lacy (left) on much deserved break.
Some of the pedal pipes relocated.
Installation started in pedal chamber, Notice the freshly mitered pipes to fit in a smaller space than original location in swell chamber.
Pedal key "targets" for optical sensors.
back side of expression shoes with linear transducers in place.
Kick panel with toe studs, toe levers and expresion shoes in place.
A few of the many draw knobs in place.
rebuilt reservours ready to go back to Aberdeen.
Dale rebuilding small wedge pneumatic for tremulant cutout.
Joe rebuilding original reservoir, all hinge, leather and curtain valve materials have been replaced.
Gate leg Bench chassis
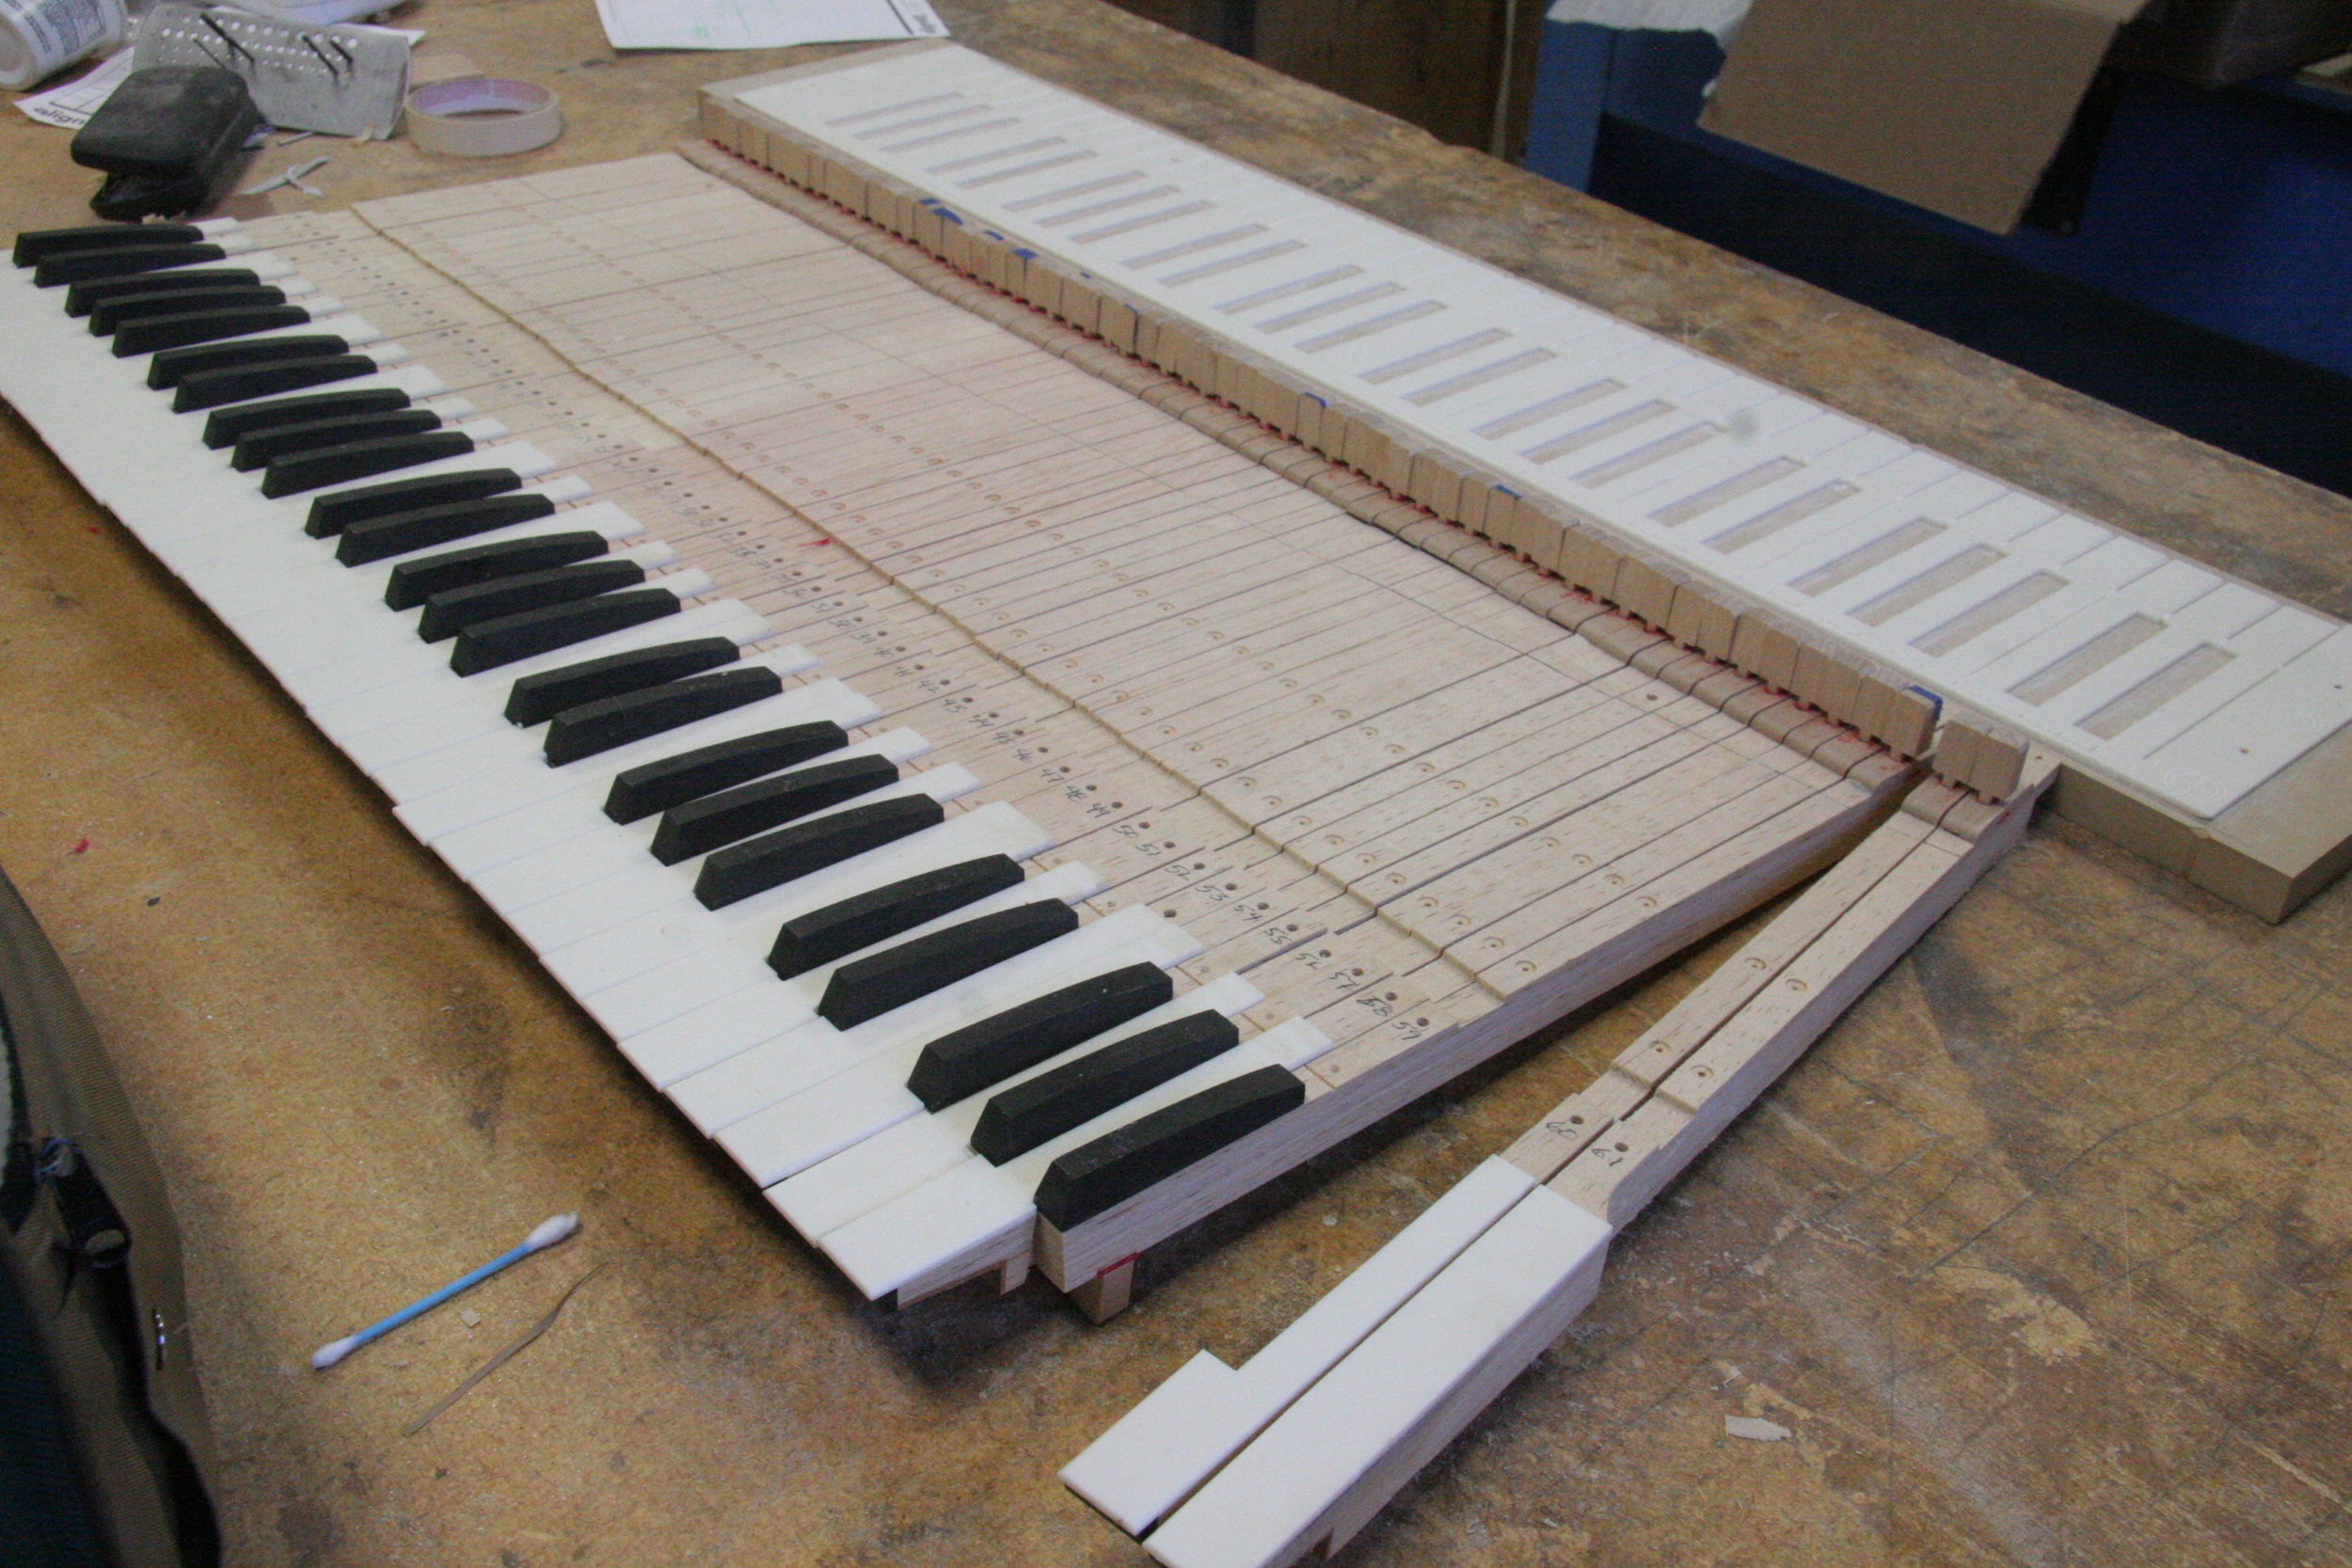
Keyboards under construction
Naturals are machined from solid surface countertop materials. This photo shows blank after CNC machining leaving tabs and registration pin holes behind sharps to aid in placement on keyboard blank.
We started machining our keyboards on a CNC router about 2003. CNC machining lends itself great for the job as you can machine every octave to exact precision, Unlike layout by hand, where there is always some variance from octave to octave, these manuals are exact and perfect octave to octave.
We have employed two strategies for machining, If the keyboard blank is thin from .375 to .5 inches we use a vector cut and long .125 cutter can to cut the full key body. It requires "spacing" the layout to allow for the extra width of the cutter but it limits the amount of hand work greatly, The other strategy is to do a vector cut using a .0625 cutter hand ground to .040 inches as a layout aid only, then every operation is typical of the traditional means using band saws and hand tools.
Of course the key beds and blanks are all drilled using the CNC thus cutting down errors and time.
Basics of felt bushings
Construction detail showing cherry and ebony covers on key under-cut and sharps of ebony.
Manual 1 with felt packing blocks in place
Felt bearing in place for head pin. In this photo you can see how we "sandwich" four layers of sugar pine to make a very stable keyboard blank.


